自从 Typecho 换到hugo后就将博客放到 腾讯云开发者平台也就是cloudstudio ,很方便,在线写作、编译。前段时间看到群里有人说个人版 cloud studio 估计到年底要下线了,做个保障,将数据转移到了新上线的cloud studio,其实也就是从CODING个人版转到了团队版。团队版的Cloud Studio进去以后需要自己安装需要用的工具,记录一下。
安装工具及Hugo
安装Hugo需要用到 wget命令,所以需要先安装wget,安装wget又需要curl,所以还得先安装 curl 。这是我百度以后研究出来的一种方法。
首先安装wget
1  apt-get update
2  apt-get install wget
3  wget --version
再安装 curl
1 sudo apt install curl
要验证是否已安装curl,请在终端中键入curl
2 curl
接下来 安装Hugo
1、更新你的系统apt索引并安装Hugo:
sudo apt-get update $ sudo apt-get install hugo2、从github hugo页面下载最新版本,当前版本是v0.54.0,选择与你的CPU架构匹配的版本:
wget https://github.com/gohugoio/hugo/releases/download/v0.54.0/hugo_0.54.0_Linux-64bit.deb3、然后使用以下命令安装包:
$ sudo dpkg -i hugo_0.54.0_Linux-64bit.deb

Selecting previously unselected package hugo.

(Reading database … 187292 files and directories currently installed.)

Preparing to unpack hugo_0.54.0_Linux-64bit.deb …

Unpacking hugo (0.54.0) …

Setting up hugo (0.54.0) …
如果安装成功,你应该能够使用hugo命令:
$ hugo --helpGit博客数据
因为我每次更新完文章都会将博客备份到github中,所以在安装好hugo以后,直接将博客备份git下来就可以了。
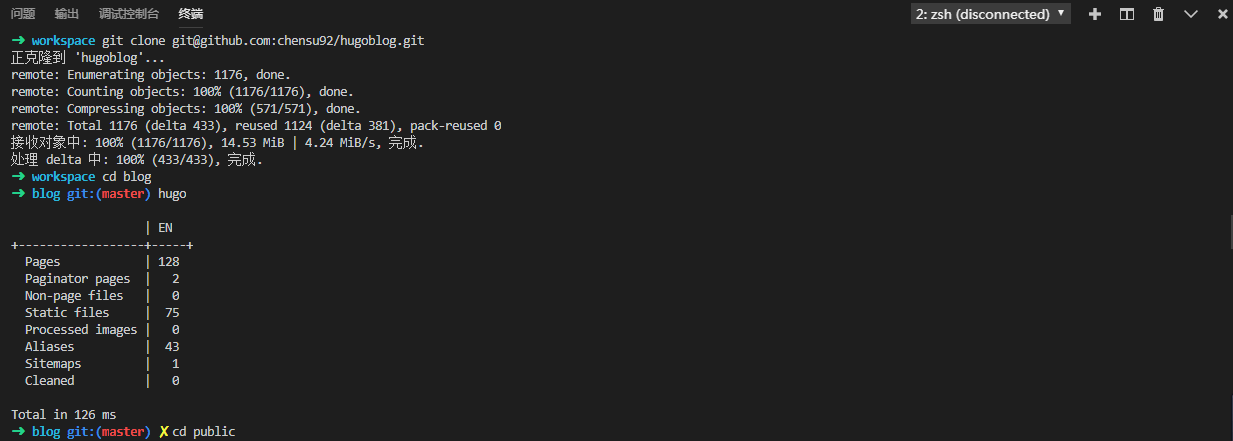
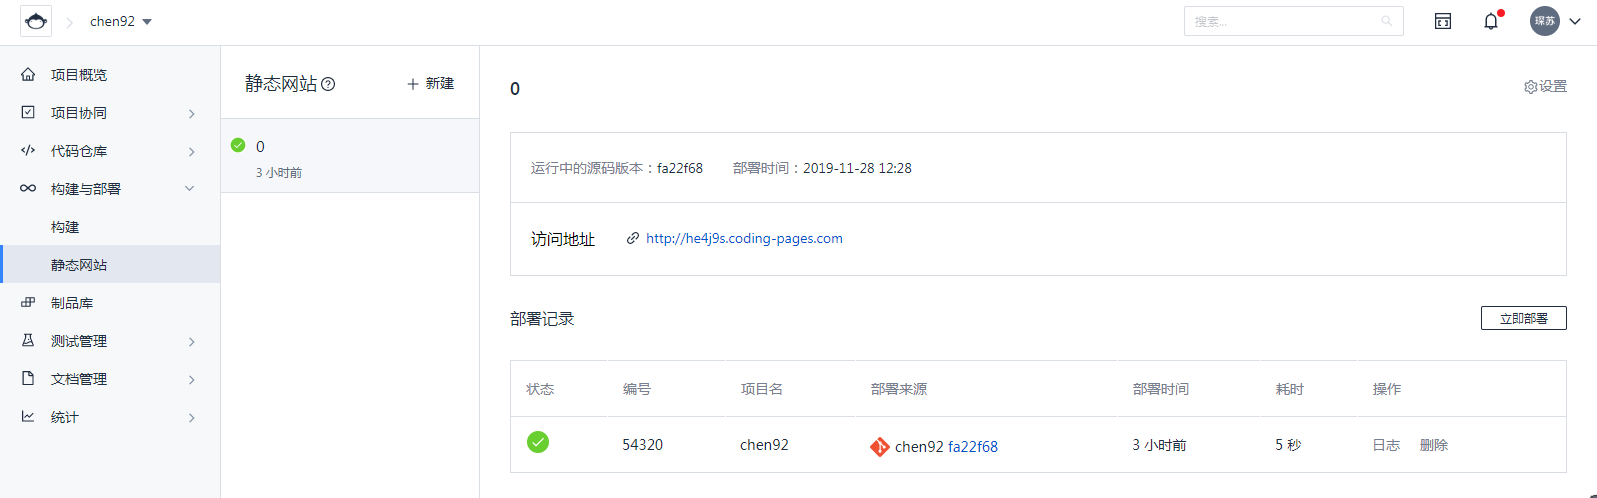
完美生成,相比较个人版的Cloud Studio有个方便之处就是可以自动部署到静态网站。而团队版需要手动操作
1、 cd public

2、git init

3、git add -A

4、git commit -m 'deploy'

5、git push -f git@e.coding.net:chen92/chen92.git master

对象计数中: 504, 完成.
Delta compression using up to 8 threads.
压缩对象中: 100% (377/377), 完成.
写入对象中: 100% (504/504), 1.84 MiB | 12.20 MiB/s, 完成.
Total 504 (delta 184), reused 0 (delta 0)
remote: Resolving deltas: 100% (184/184), done.
To e.coding.net:chen92/chen92.git

 + `9c28aee...fa22f68 master -> master (forced update)
然后部署到网页。